The quickest way to ruin a Jamaican trip is attempting to drive a standard rental sedan up the treacherous, pothole-riddled roads of the Blue Mountains. A high-clearance 4WD vehicle is non-negotiable, and the summit hike demands serious preparation for near-freezing temperatures that catch most beachgoers completely off guard.
- Vehicle requirement: high-clearance 4WD or experienced local driver only
- Peak temperature: drops rapidly to around 11°C (51°F); mountain spring water gets ice cold
- Hike distance: 9.3 km (5.8 miles) one way, 18.6 km total round trip
- Hike duration: approximately 4 hours up, 3 hours down
- Trailhead start for sunrise: around 1 AM from Mavis Bank
- Non-resident entrance fee: US$20 per person
The Brutal Truth About Driving from Kingston
The drive from Kingston up into the mountains is not for the faint of heart. The roads are incredibly narrow, filled with massive potholes, and often partially blocked by uncleared landslides. Navigating these steep twists requires total concentration and a vehicle built for punishment.
Relying on a local, professional driver is often the smartest choice for navigating this terrain. They know exactly how to handle the blind corners and rugged surfaces, saving your rental car from severe undercarriage damage. If you do drive yourself, a high-clearance SUV is the absolute minimum.
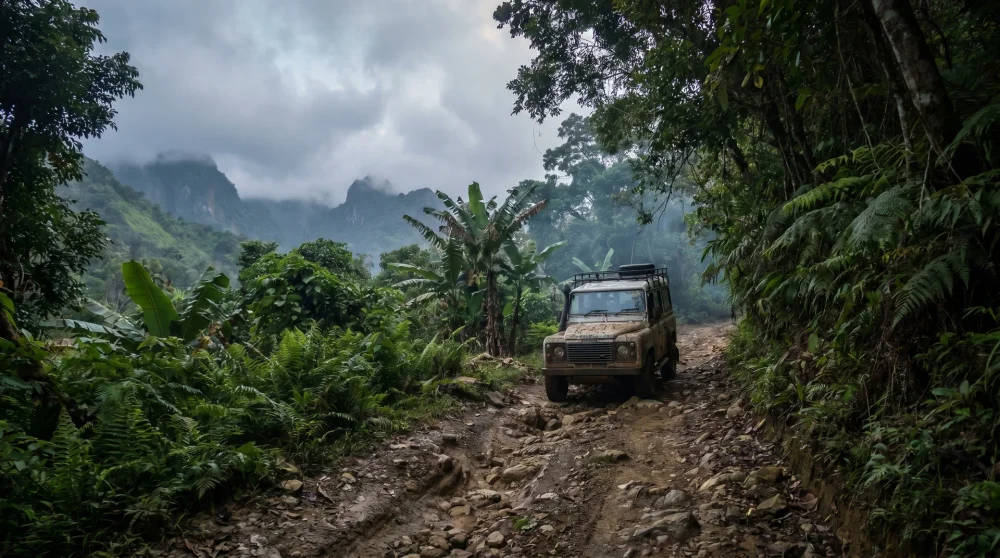
The linking roads between different sections of the mountains become completely inaccessible after heavy rains. Planning a flexible itinerary ensures you do not get trapped trying to reach an isolated trailhead.
Blue Mountain Peak Sunrise Hike: What to Expect
Starting the hike around 1 AM is the standard strategy to catch the sunrise at the 2,256-meter summit. The trail runs 9.3 km one way, dark, muddy, and steep, testing your endurance right from the first mile. The air thins out the higher you climb, making deep breaths essential.
Jacob's Ladder is the most notorious section of the trail. The relentless uphill gradient burns your lungs, but the descent is where the real damage happens. Going down this specific stretch puts immense pressure on your knees and feet, requiring sturdy hiking boots with excellent grip.
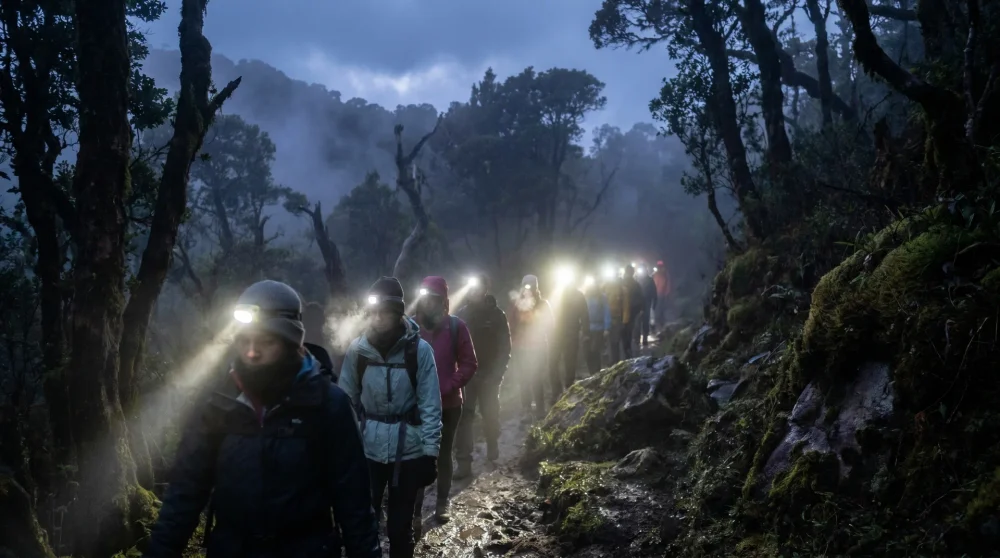
The weather at the 2,256-meter summit is highly unpredictable. Thick clouds and fog frequently block the famous sunrise views, and the temperature is brutally cold. Packing sweatpants, a thick sweater, and a windbreaker makes the difference between a miserable wait and a tolerable one.
Hydration warning: Bring room-temperature water. The natural spring water on the mountain is freezing, and drinking ice-cold water while heavily out of breath causes chest discomfort.
Trail condition: Garbage is frequently left along the trails and near the cabins. Pack your trash out and ignore the lack of directional signs; the main path is generally linear.
Mavis Bank vs. Portland Side: Choosing Your Base Camp
Where you start dictates exactly what kind of experience you get. The Mavis Bank side serves as the absolute base camp for serious hikers aiming for the summit. Staying overnight in the rustic cabins at Whitfield Hall or Wildflower Lodge here gives you immediate access to the main trailhead for that early morning departure.
The Portland side offers a much more relaxed, visually stunning day experience. The hike from this direction is lush with dense greenery, indigenous plants, and hidden crystal-clear waterfalls. This side also provides excellent opportunities for downhill bicycle tours.
If you want a mix of quiet isolation and decent amenities, Holywell Park is the sweet spot. The park features well-maintained camping areas, log cabins, and a bistro. You can take unguided walks along the misty forest paths and watch colorful hummingbirds dart between the trees. The logistical side of mountain hiking varies sharply by destination, but the principles around hiking the Cayman Islands apply here too: research trail difficulty, carry plenty of water, and never underestimate access roads.
Visiting the Coffee Farms: Logistics and Tasting
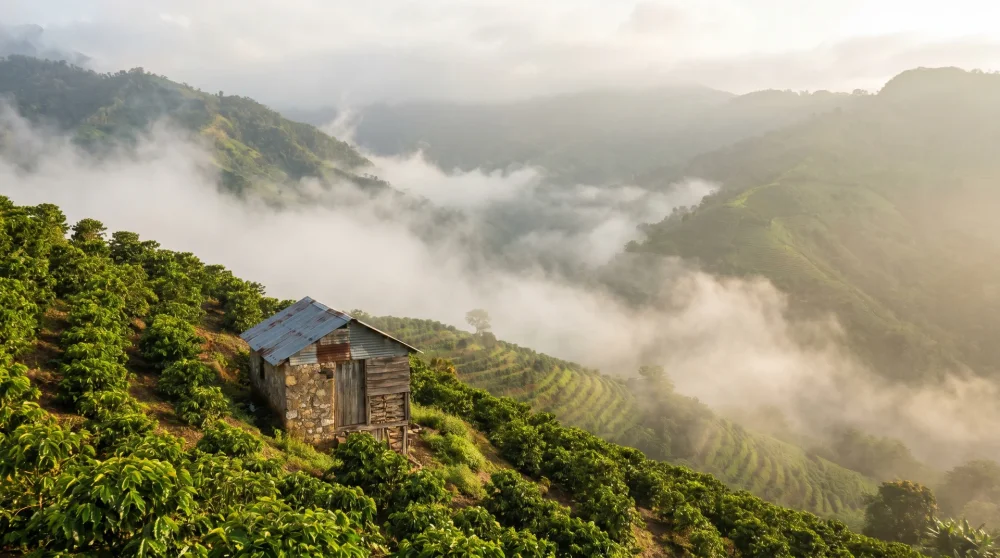
The coffee grown in this misty altitude is world-renowned, and seeing the cultivation process firsthand is a major draw. Many local farms plant their coffee trees directly alongside native fruit trees. This unique agricultural approach infuses the beans with subtle, fruity flavor profiles.
Buying beans directly from the farms saves you a considerable amount compared to airport prices. The cafes perched on the mountainsides, like the Blue Mountain Cafe, offer freshly brewed cups with uninterrupted views of the valleys. Some historic estates, including Craighton Estate, offer structured guided tours of the plantation.
Keep in mind that some cafes heavily pre-sweeten their specialty drinks, so requesting a low-sugar option is highly recommended. Coffee farm visits are easily combined with a day hike on the Portland side without tackling the full summit route.
Practical Tips Before You Hit the Trail
Travel light: Overpacking is a fatal mistake on these steep inclines. Carry only essential layers, a headlamp, and high-energy snacks. Bring at least 2-3 liters of water per person.
Cash is king: Signal drops frequently, making card machines useless at remote coffee stops or the park entrance where you pay the US$20 non-resident fee.
Embrace the fog: Accept that you might reach the top only to stare into a wall of white mist. If you are tackling a trip this demanding, it is also worth reviewing your backpacker travel insurance coverage before you leave, particularly for mountain hiking and emergency evacuation. The physical accomplishment of conquering the 2,256-meter summit is the real reward. December through April offers the clearest skies and driest trails for the best odds of an unobstructed sunrise.