Shooting a completely blurred, yellow-tinted photo is the most common frustration when trying to capture a rare artifact in a dimly lit gallery. The lack of natural light and strict no-flash rules force your camera to guess the settings, which usually ruins the shot. Taking manual control over your ISO and aperture is the exact solution to get crisp, professional-looking images in these highly controlled environments.
- Ideal Camera Mode: Aperture Priority or Manual Mode
- Minimum Shutter Speed: 1/60s to avoid motion blur
- Flash Policy: Strictly prohibited across almost all major galleries
- Commercial Photo Pass: Required for professional shoots with tripods or models; contact the museum directly
- Best Time to Shoot: Opening hour or late afternoon to avoid crowds
Overcoming the Biggest Challenge: Low Light and No Flash
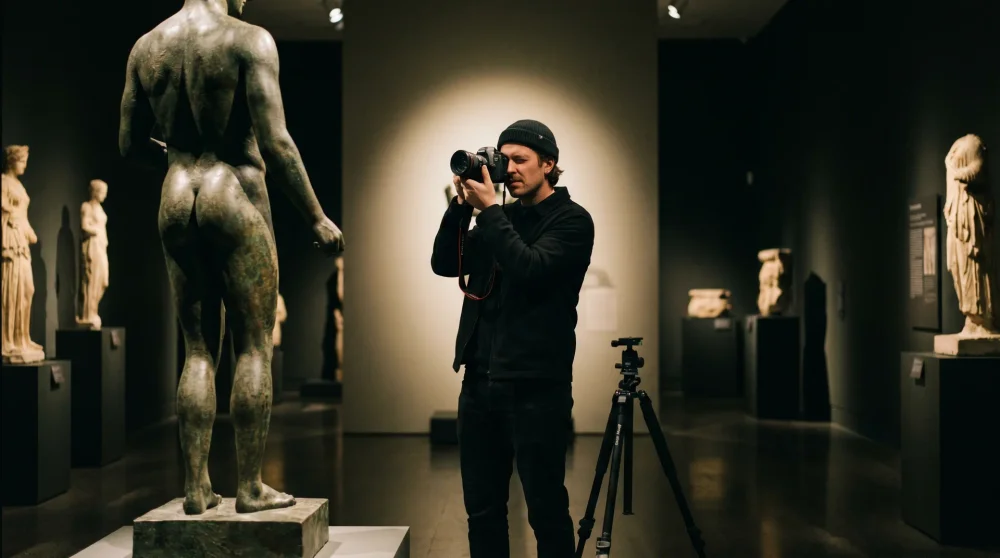
Museum halls are intentionally dark, the spotlights highly directional and contrasty. Curators keep illumination levels strictly regulated to protect fragile pigments, textiles, and ancient materials from degradation. Your camera sensor craves light, but using a flash is both damaging to the artifacts and highly disrespectful to other visitors.
Relying on Auto mode in these conditions is a guaranteed recipe for grainy and soft images. You have to adapt to the available ambient light by maximizing your camera sensor capabilities. Finding a sturdy surface to lean against helps immensely when shooting at slower speeds.
Exact Camera Settings for Sharp Museum Photos
Securing a sharp image requires a delicate balance of three core settings. Dial in these parameters before you step into the main exhibition halls.
- Boost the ISO: Set your ISO between 800 and 3200. Modern cameras handle digital noise incredibly well at these levels. A slightly grainy but sharp photo is infinitely better than a smooth but blurred one.
- Open the Aperture: Use the widest aperture your lens allows, such as f/1.8 or f/2.8. A wide aperture acts like a dilated pupil, letting maximum light hit the sensor.
- Control the Shutter Speed: Never drop below 1/60s if you are shooting handheld. Even the slight movement of your breathing causes motion blur at slower speeds.
How to Shoot Through Glass Without Reflections
Reflections from thick acrylic or glass display cases completely obscure the details of the artifact inside. Standing a few feet away from the case captures the surrounding room lights and your own silhouette. Getting the right angle requires a physical approach rather than a digital fix.
Place your camera lens directly against the glass pane. Resting the plastic edge of your lens hood flush against the display case blocks out all ambient light from the room. This technique also stabilizes your camera, allowing you to drop your shutter speed slightly for a brighter exposure. If you plan to practice these techniques at a specific collection, the National Museum of Lithuania has well-lit artifact displays and glass cases that reward exactly this approach.
Wearing dark, solid-colored clothing is a secret technique used by professional gallery photographers. Bright or patterned shirts easily reflect off the glass right back into your lens, even when you shoot from an angle.
Gear Recommendations: What to Bring (and What to Leave)
Packing heavy equipment for a museum trip only slows you down and attracts unwanted attention from security guards. Tripods and monopods are universally banned because they create tripping hazards in crowded spaces. Traveling light is your biggest advantage.
Choosing the Right Lens for Museums
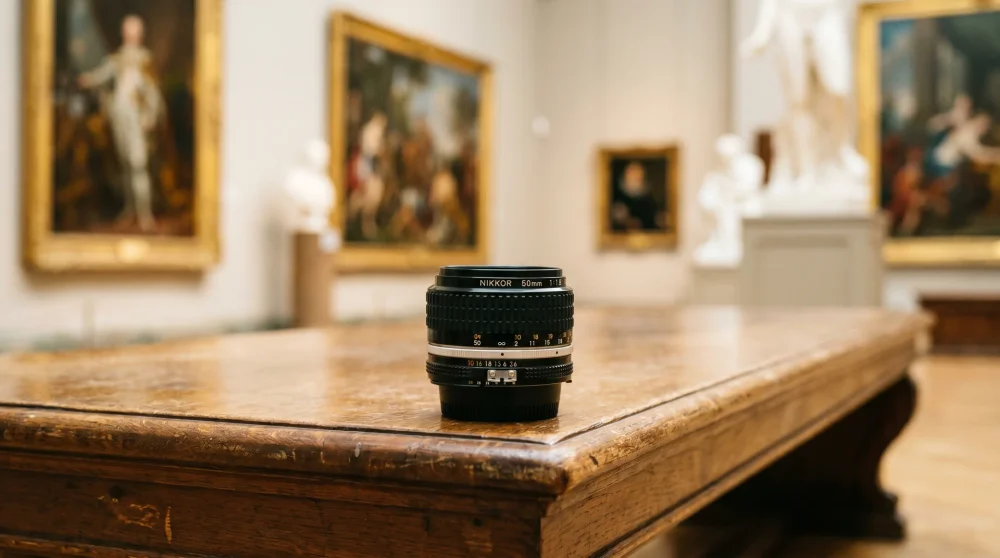
Leave your standard kit lens at home. A fast prime lens is the absolute best tool for indoor photography. A 35mm or 50mm f/1.8 lens absorbs significantly more light than a standard zoom lens.
Wide-angle prime lenses also allow you to capture the grand architecture of the museum halls without having to step backward into crowds of people. They force you to physically move closer to your subject, which naturally reduces the amount of distracting background elements in your frame. If you visit a large institution like the Houston Museum of Natural Science, a wide prime lens handles both the towering fossil displays and the intimate gem gallery with equal ease.
Understanding Museum Photography Rules and Etiquette
Photography policies vary drastically between institutions and even between different rooms within the same building. Temporary exhibitions often carry strict no-photo rules due to complex copyright agreements with the lending institutions. Always scan the entrance of the room for crossed-out camera symbols before lifting your gear.
Respecting the space is paramount. Avoid hogging a popular display case for ten minutes to get the perfect angle. Take your shots efficiently and step aside to let others enjoy the exhibits. If you plan to use your images commercially or bring professional equipment including models or external lighting, contact the museum administration in advance to arrange the necessary commercial shoot permit.
Composition Tips for Art and Artifacts
Photographing a painting straight-on often results in a flat, uninspiring image that looks like a cheap catalog scan. Move around the subject to find depth. Capturing a slight angle reveals the texture of the oil paint and the intricate details of the frame.
Position yourself directly in front of the artwork at its midpoint height to avoid distortion. For very tall pieces, step back and zoom in rather than tilting the camera upward, which warps the proportions.
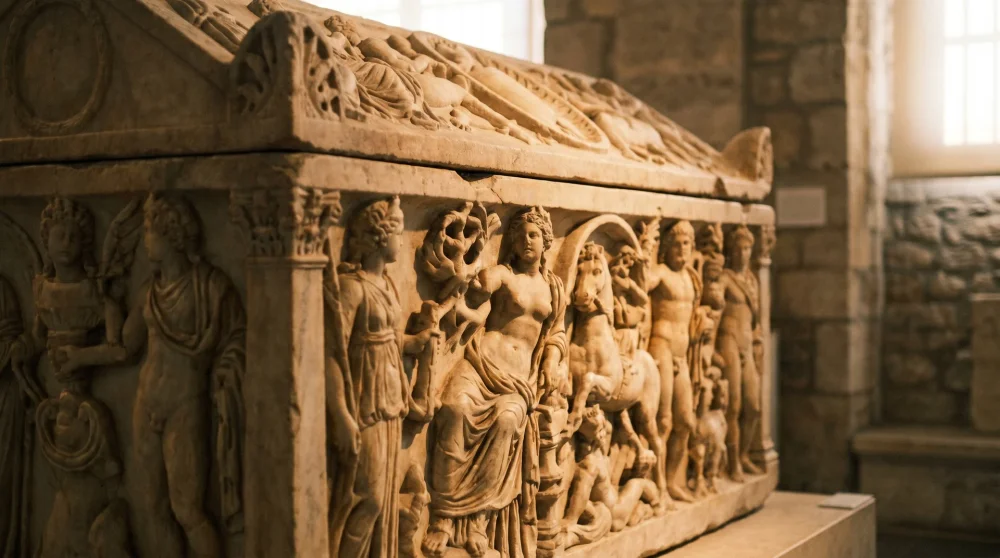
Focusing on specific details rather than the entire object creates a much stronger visual story. Zoom in on the carved hieroglyphs of a sarcophagus or the brushstrokes of a masterpiece.
Quick Post-Processing Adjustments for White Balance
Artificial gallery lights cast strong, unnatural color temperatures, usually deep yellow or harsh blue. Your camera struggles to accurately interpret true white under mixed lighting conditions. This color distortion ruins the authentic look of the artwork.
Shoot your images in RAW format instead of JPEG. RAW files retain all the original color data captured by the sensor. Opening these files later in editing software allows you to adjust the white balance slider with a single click, instantly restoring the natural, accurate colors of the exhibit. If you photograph under consistent artificial lighting throughout the session, copy and paste your white balance adjustment across all images shot in the same room for instant consistency.