Landing in a new country and turning on your phone should feel exciting. Instead, you stare at your screen in sheer panic, wondering if that first incoming text just triggered a massive daily roaming pass from your home carrier. You need your primary number active to receive urgent calls, texts, and banking codes, but you absolutely do not want to pay exorbitant fees for background data.
Using a travel eSIM solves the data problem, but configuring your dual SIM settings incorrectly can still lead to a billing disaster. Here is exactly how you set up your device to keep your original number alive while routing all data through your travel eSIM.
The Golden Rule: Data vs. Voice & SMS
Smartphones are incredibly capable of managing two network connections simultaneously. When you install an eSIM, your phone essentially runs two separate brains. One brain handles your internet connection, and the other handles your traditional phone calls and SMS messages.
Your goal is simple. You must force your phone to use the travel eSIM exclusively for cellular data. At the same time, you leave your primary SIM active only for incoming voice calls and text messages. If your home carrier charges for incoming SMS, you might still pay a tiny fee per text, but you completely block the massive charges associated with background app updates, map downloads, and email syncs.
Exact iPhone Settings for Dual SIM Travel
Apple makes dual SIM management relatively straightforward, but hiding the right toggles deep in the settings menu causes a lot of confusion. Follow these steps before you board your flight.
Step 1: Label Your Plans Correctly
You need to know exactly which line is which to avoid tapping the wrong button later.
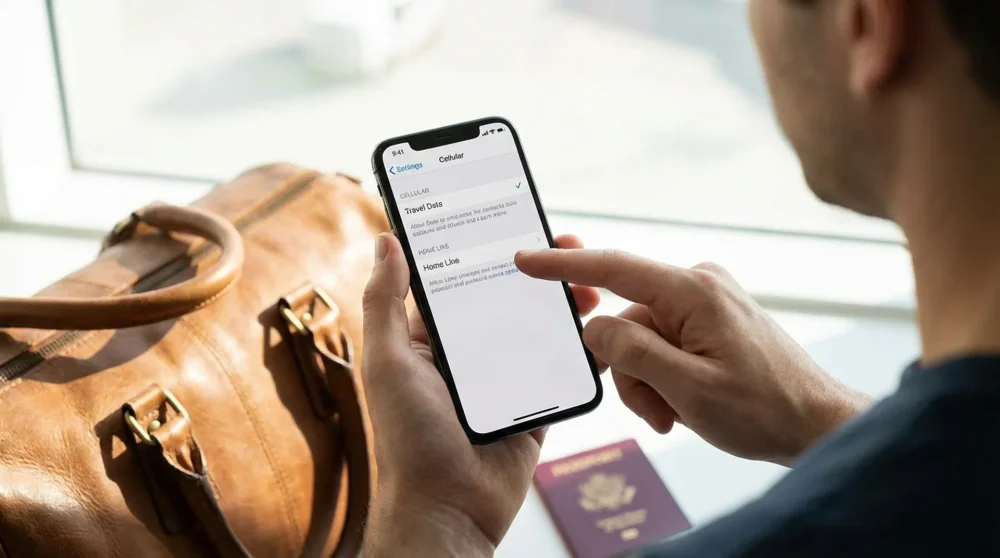
- Go to Settings and tap on Cellular.
- Tap your primary home plan and rename it to something obvious like Home Line.
- Tap your new eSIM plan and name it Travel Data.
Step 2: Toggle Off Cellular Data Switching
This is the most critical step to prevent unexpected bills. If your phone loses the travel eSIM signal even for a second, it will automatically switch back to your home line to keep you connected, triggering a roaming charge instantly.
- Under the Cellular menu, tap Cellular Data.
- Select your Travel Data eSIM as the active data connection.
- Look immediately below that and ensure Allow Cellular Data Switching is toggled off.
Step 3: Configure iMessage and FaceTime
Apple users often lose their iMessage functionality when swapping SIMs. You can keep your primary phone number tied to your iMessage account even while using travel data.
- Go to Settings, then Messages, and tap Send & Receive.
- Ensure your primary phone number remains checked.
- Do the same under the FaceTime settings menu.
- Your iPhone will now route all blue-bubble messages through the travel eSIM internet connection while keeping your original phone number as the sender ID.
Exact Android Settings for Samsung and Google Pixel
Android devices handle dual SIM configurations differently depending on the manufacturer. The core logic remains identical. You want to separate your data stream from your communication stream.
For Samsung Galaxy and Google Pixel users, the path is highly similar.
- Open Settings and navigate to Network and Internet or Connections.
- Tap on SIM manager or SIMs.
- Make sure both your primary physical SIM and your downloaded eSIM are toggled on.
- Look for the Primary SIM or Preferred SIM section at the bottom of the screen.
- Set Mobile data exclusively to your new travel eSIM.
- Set Calls and Messages to your primary home network.
- Ensure the Auto data switching or Backup calling toggle is turned completely off to stop background data leaks.
How to Receive 2FA Texts Without Roaming Charges
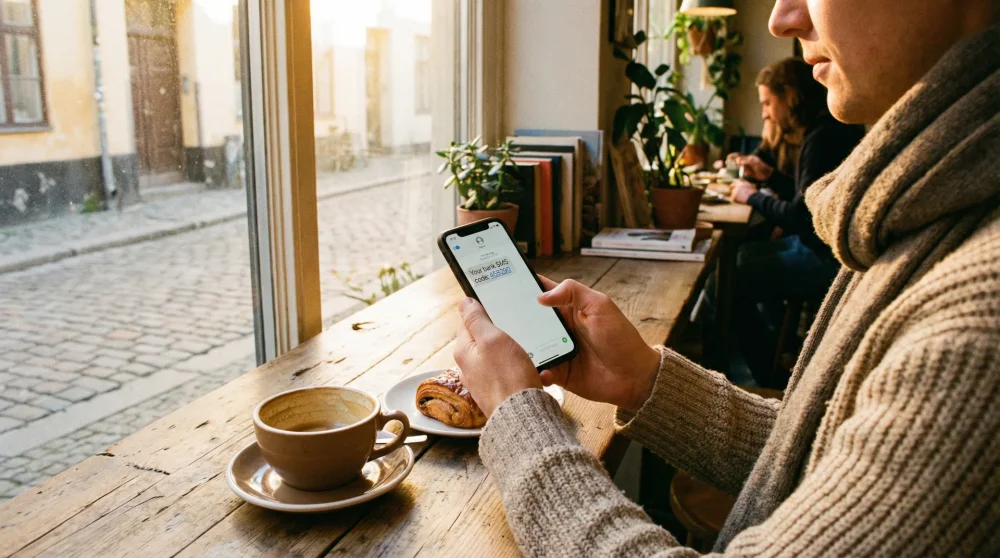
Trying to log into your bank account abroad only to realize you cannot receive the two-factor authentication code is incredibly frustrating. You absolutely need your primary line active to get those automated SMS codes.
The secret here lies in Wi-Fi Calling. Many major carriers allow you to receive SMS messages over a Wi-Fi connection or even over the cellular data connection provided by your second eSIM.
- Enable Wi-Fi Calling in your settings before you leave your home country.
- Once abroad, keep your primary line active but turn off its specific Data Roaming toggle.
- When you connect to hotel or cafe Wi-Fi, your phone routes the incoming SMS through the internet rather than the local cellular tower.
- This lets you receive those critical banking codes instantly without triggering a daily travel pass.
Common Mistakes That Trigger High Bills
Even with the perfect setup, user error can ruin your careful planning. Answering an incoming voice call on your primary line will almost always trigger a roaming charge, depending on your carrier rules. If you see an incoming call on your regular number, let it go to voicemail.
Sending a traditional green-bubble SMS also activates your home carrier network. If you need to text someone, rely entirely on internet-based messaging apps like WhatsApp, Telegram, or iMessage. These apps use the data stream from your travel eSIM and completely bypass your home cellular network.
Always check your active line before making an outbound call. Your phone dialer will show you which SIM is about to make the call. If you accidentally dial a local restaurant using your home SIM instead of a VoIP app, your carrier will notice immediately.